One of the really cool things about kubectl (pronounced cube control) is the ability to extend it’s functionality with custom plugins.
These plugins are simply files named kubectl-xxx dropped into a PATH directory on your local machine that contain some code. Let’s have a go building a couple here.
N.B. – Try as I might I could not get this to work from a powershell session (where I usually run all my kubectl commands). It either wouldn’t recognise the new plugin or threw unsupported on windows at me. To get plugins to work on Windows I used the Windows Subsystem for Linux
OK, let’s create a file called kubectl-foo that’ll return Hello SQL Server folks! when executed: –
echo '#!/bin/bash
echo "Hello SQL Server folks!"' > kubectl-foo

Make the file executable: –
chmod +x kubectl-foo
And then copy it into one of your PATH locations (I’m using /usr/local/bin): –
sudo cp kubectl-foo /usr/local/bin
Now we can test to see if kubectl is picking it up: –
kubectl plugin list

Cool! Now we can run it: –
kubectl foo

Great stuff! Let’s build another one but this time a little more complicated.
When I deploy SQL Server to Kubernetes I usually create a load balanced service so that I can get an external IP to connect from my local machine to SQL running in the cluster. So how about creating a plugin that will grab that external IP and drop it into mssql-cli?
Let’s have a go at creating that now.
Create a file called kubectl-prusk 🙂 and open it in your favourite editor (I’m using nano): –
touch kubectl-prusk

nano kubectl-prusk
Then drop the following into it: –
#!/bin/bash

ExternalIP=$(kubectl get services -o=jsonpath='{..status.loadBalancer.ingress[*].ip}' $1)

mssql-cli -S $ExternalIP -U sa -P  $2
EDIT – 2019-09-12
David Barbarin (b|t) advised that the following can be used to grab the port of the service:-
ExternalPort=$(kubectl get services -o=jsonpath='{..ports[*].port}' $1)
And then connect in by: –
mssql-cli -S $ExternalIP,$ExternalPort -U sa -P $2
Thanks David!

What we’re doing here is parsing the output of kubectl get services (I use http://jsonpath.com/ as a guide), collecting the external IP of the service, and then passing it into mssql-cli.
$1 and $2 are variables for the service name and SQL sa password that will be passed in when we call the plugin.
Now, same as before, we need to make the file executable: –
chmod +x kubectl-prusk
And copy it to a PATH location: –
sudo cp kubectl-prusk /usr/local/bin
Check that it’s there: –
kubectl plugin list

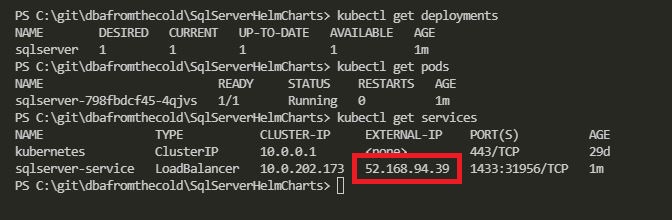
Awesome. Ok, I’ve already got a SQL deployment and load balanced service running
in my K8s cluster up in AKS (check out how to do that here): –
kubectl get all

So let’s try out the new kubectl prusk plugin.
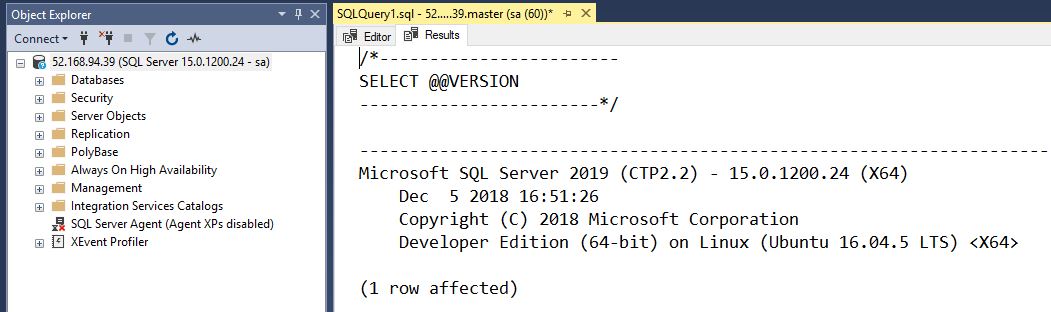
The plugin will grab the external IP of the service (called sqlserver-service) and drop it into mssql-cli with the sa password that we pass in (Testing1122 in this case): –
kubectl prusk sqlserver-service Testing1122

And boom! We’re connected into SQL running in our cluster. 🙂
That was a couple of really simple examples but I hope they showed the power of kubectl plugins, we can write some really cool things with them.
Thanks for reading!
N.B. – You may get the following error when running the plugin

It’s intermittent so try re-running the command