In a previous post I went through how to deploy SQL Server running in an Azure Container Instance using Terraform.
In that post, I used hardcoded variables in the various .tf files. This isn’t great to be honest as in order to change those values, we’d need to update each .tf file. It would be better to replace the hardcoded values with variables whose values can be set in one separate file.
So let’s update each value with a variable in the .tf files.
First file to update is the providers.tf file: –
provider "azurerm" {
version = "1.24.0"
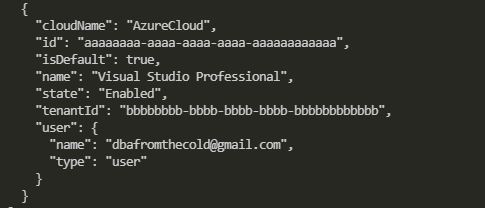
subscription_id = "aaaaaaaa-aaaa-aaaa-aaaa-aaaaaaaaaaaa"
tenant_id = "bbbbbbbb-bbbb-bbbb-bbbb-bbbbbbbbbbbb"
client_id = "cccccccc-cccc-cccc-cccc-cccccccccccc"
client_secret = "dddddddd-dddd-dddd-dddd-dddddddddddd"
}
Replace the values in the file with the following: –
provider "azurerm" {
version         = "1.24.0"
subscription_id = "${var.subId}"
tenant_id       = "${var.tenantId}"
client_id       = "${var.clientId}"
client_secret   = "${var.clientSecret}"
}
Now that we have referenced variables in the files we need to define those variables. First create a file to hold the variables: –
mkdir variables.tf
And then drop in the following: –
variable "subId" {
description = "please provide subscription Id"
type        = "string"
}

variable "tenantId" {
description = "please provide tenant Id"
type        = "string"
}

variable "clientId" {
description = "please provide client Id"
type        = "string"
}

variable "clientSecret" {
description = "please provide client secret"
type        = "string"
}
OK, so we have defined the variables that we referenced in the providers.tf file. However, we haven’t set any values for those variables.
If we left the files like this, when we deploy we would be asked to manually enter values for the variables. What we now need to do is create another file where we can set the variable values.
First thing to do is create a directory called vars: –
new-item vars -type directory
And now create a file to hold the values (notice that its extension is .tfvars to distinguish it from the other files): –
cd vars
new-item aci.tfvars
Drop the original hardcoded values in: –
subId = "aaaaaaaa-aaaa-aaaa-aaaa-aaaaaaaaaaaa"
tenantId = "bbbbbbbb-bbbb-bbbb-bbbb-bbbbbbbbbbbb"
clientId = "cccccccc-cccc-cccc-cccc-cccccccccccc"
clientSecret = "dddddddd-dddd-dddd-dddd-dddddddddddd"
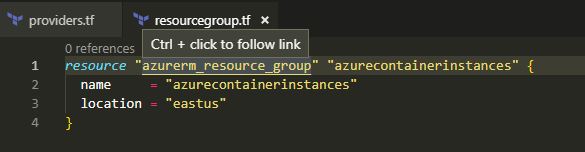
And now we’re good to go! But before we deploy, let’s have another look at the azurecontainerinstance.tf file: –
resource "azurerm_container_group" "testcontainergroup1" {
name                = "testcontainergroup1"
location            = "${azurerm_resource_group.azurecontainerinstances.location}"
resource_group_name = "${azurerm_resource_group.azurecontainerinstances.name}"
ip_address_type     = "public"
dns_name_label      = "testcontainergroup1"
os_type             = "Linux"

container {
name   = "testcontainer"
image  = "mcr.microsoft.com/mssql/server:2019-CTP2.5-ubuntu"
cpu    = "1.0"
memory = "2.0"

ports {
port     = 1433
protocol = "TCP"
}

environment_variables = {
"ACCEPT_EULA" = "Y"
"SA_PASSWORD" = "Testing1122"
}
}
}
We’re already using variables for the resource group and location (which reference the resource group created in the resourcegroup.tf file) but let’s add in variables for the container name, image, and sa password: –
resource "azurerm_container_group" "testcontainergroup1" {
name                = "testcontainergroup1"
location            = "${azurerm_resource_group.azurecontainerinstance2.location}"
resource_group_name = "${azurerm_resource_group.azurecontainerinstance2.name}"
ip_address_type     = "public"
dns_name_label      = "testcontainergroup1"
os_type             = "Linux"

container {
name   = "${var.containerName}"
image  = "${var.containerImage}"
cpu    = "1.0"
memory = "2.0"

ports {
port     = 1433
protocol = "TCP"
}

environment_variables = {
"ACCEPT_EULA" = "Y"
"SA_PASSWORD" = "${var.saPassword}"
}
}
}
Cool, now we need to update the variables.tf file: –
variable "subId" {
description = "please provide subscription Id"
type        = "string"
}

variable "clientId" {
description = "please provide client Id"
type        = "string"
}

variable "clientSecret" {
description = "please provide client secret"
type        = "string"
}

variable "tenantId" {
description = "please provide tenant Id"
type        = "string"
}

variable "saPassword" {
description = "please provide an SA password"
type        = "string"
}

variable "containerImage" {
description = "please provide container image"
type        = "string"
}

variable "containerName" {
description = "please provide container name"
type        = "string"
}
And drop in the values to the aci.tfvars file: –
subId = "aaaaaaaa-aaaa-aaaa-aaaa-aaaaaaaaaaaa"
tenantId = "bbbbbbbb-bbbb-bbbb-bbbb-bbbbbbbbbbbb"
clientId = "cccccccc-cccc-cccc-cccc-cccccccccccc"
clientSecret = "dddddddd-dddd-dddd-dddd-dddddddddddd"
saPassword = "Testing1122"
containerImage = "mcr.microsoft.com/mssql/server:2019-CTP2.5-ubuntu"
containerName = "testcontainer1"
Before we deploy, let’s format these files: –
terraform fmt

Really love that feature. If you run it at the root of your project it will format all your files for you 🙂
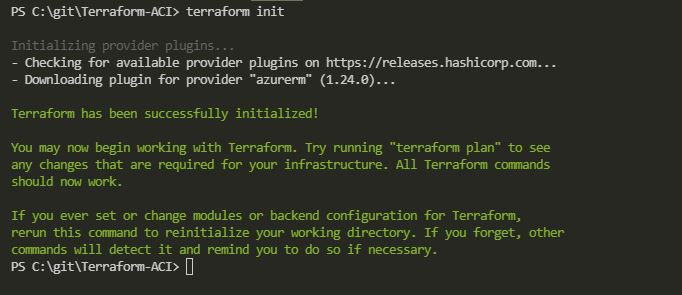
Now we can test the deployment (notice we’re referencing the aci.tfvars file): –
terraform plan -var-file "./vars/aci.tfvars"

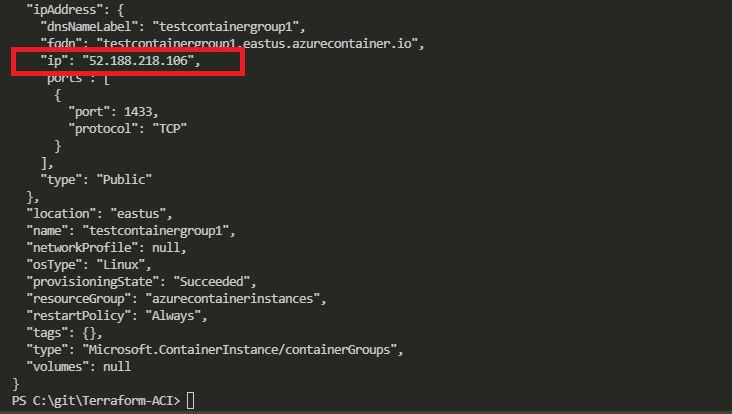
If all looks good (the values for the variables are being picked up), we can deploy: –
terraform apply -var-file "./vars/aci.tfvars"
What’s great about using variables like this is that we now don’t have to touch the .tf files where we define our resources. If we want to say, deploy a different image to an ACI we just have to update the containerImage variable in the aci.tfvars file.
This also means that if we push this project to a github repo we can ignore the vars directory, so no sensitive information is exposed (such as the sa password for our SQL instance).
Thanks for reading!