OK so maybe not replacing, this is more like emulating VS Code in Vim.
Disclaimer – I like VS Code and I won’t be uninstalling it anytime soon and I’m not recommending people do.
However, I feel it can be overkill for 90% of the work that I do. So I’ve been playing around with Vim to see if it will give me what I want.
What I really want is a light weight text editor that allow me to run commands in a terminal…that’s it!
So here’s what my Vim setup looks like: –

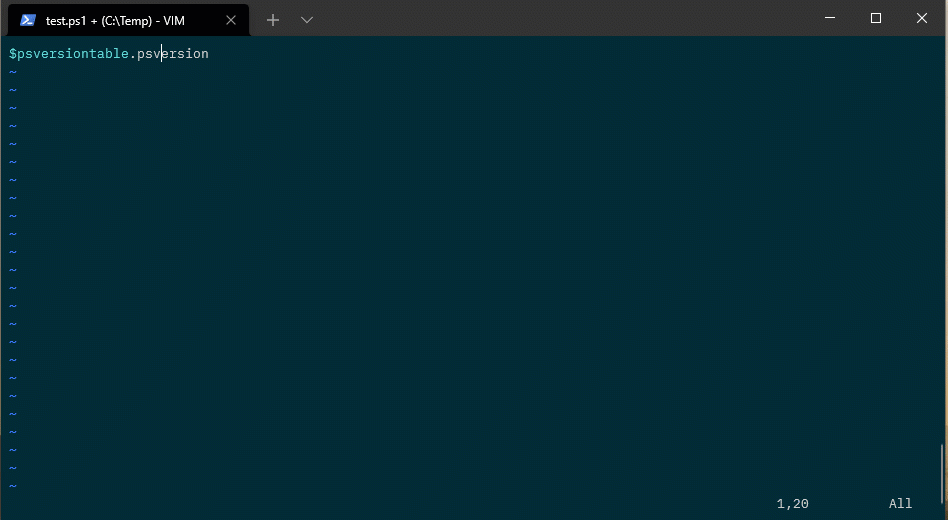
I have a file system explorer on the left, a code editor panel to the right, and a terminal open below that. I can select code in the editor and pass it down to the terminal.
Ok, I’ll admit…configuring Vim can be daunting, especially when (like myself) you have limited experience with it. BUT it is endlessly customisable and can do pretty much anything you need.
Let’s go through my setup, starting with the file tree explorer which is NERDTree.
I’m not using any Vim plugin manager. I just cloned the NERDTree repo down, and dropped it into: –
~\vimfiles\pack\vendor\start
Then once in Vim I can run :NERDTree and voila! It opens up on the left hand side.
That’s the only plugin I currently have. There are thousands of Vim plugins but I’m trying to keep this setup as lightweight as possible so I haven’t installed any others.
Ok, time for the rest of the configuration…which is all done in my vimrc file.
First thing is to switch NERDTree to a minimal UI config: –
let NERDTreeMinimalUI=1
OK, now to configure the shell. I want to use powershell v7 as my default shell (without that annoying startup message), so I dropped this into the file: –
set shell=pwsh\ -nologo
Then I enabled syntax highlighting in the editor: –
syntax on
And I also wanted the current line to be highlighted in the editor: –
set cursorline
highlight CursorLine cterm=NONE ctermbg=0
Cool, ok now for some shortcuts. To use Ctrl+/ to switch between the editor and the terminal: –
noremap <C-/> <C-w>j
tnoremap <C-/> <C-w>k
And to use Ctrl+; to execute code from the editor in the terminal: –
noremap <C-;> Y<C-W>j<C-W>"0<C-W>k
Now to open NERDTree and a terminal on Vim startup: –
autocmd vimenter * below terminal
autocmd vimenter * NERDTree
Then I’m setting a couple of aliases for the terminal and NERDTree: –
cabbrev bterm below term
cabbrev ntree NERDTree
Finally, some generic Vim settings: –
set number
set nocompatible
set backspace=indent,eol,start
set nowrap
set nobackup
set noswapfile
set noundofile
My whole vimrc file is available here. It’s very much a work in progress as I find myself constantly tweaking it 🙂
But that’s how I’ve got Vim configured…coupled with the Windows Terminal and powershell profile settings…it’s pretty awesome!
Ok, it’ll never have all the features that VS Code does but this was fun to configure and play around with.
Thanks for reading!